So Friend’s As you All know, RDP (Remote Desktop Protocol) is a protocol developed by Microsoft that allow users to connect remotely to a Computer running Microsoft Windows or Microsoft Windows Server, and access the desktop and its applications. Using RDP (Remote Desktop Protocol), you can control a Windows computer or Server from a remote location, as if you were physically present at the computer. This is useful for scenarios such as troubleshooting issues, accessing files, or working on a remote desktop.
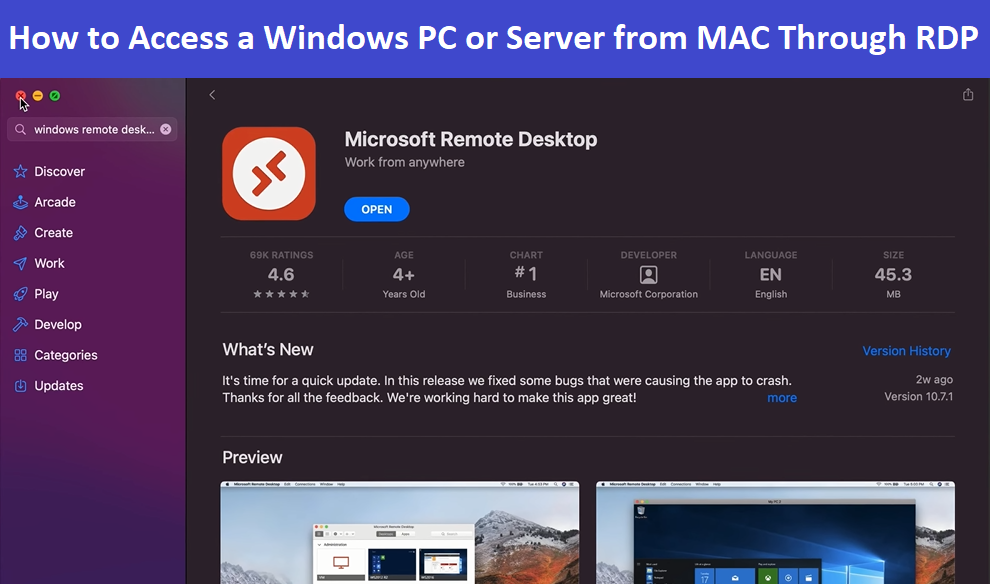
If you are using a Windows PC, it is easy to take remote desktop connection of any Windows computer or server without installing any extra software as Windows comes with Remote Desktop software pre-installed. But To take Windows RDP (Remote Desktop Protocol) in MAC devices, you need to use a client application that supports RDP. The most commonly used client application for MAC devices is the Microsoft Remote Desktop app, which is available for free on the MAC App Store. The Microsoft Remote Desktop app allows you to connect to a Windows computer from your MAC Device, and access the Windows desktop as if you were sitting in front of it.
Steps to take Windows Remote (RDP) on MAC Devices
Friend’s, Below is the simple steps to take Windows RDP in MAC devices using the Microsoft Remote Desktop app:
- First of all you have to Download and install the Microsoft Remote Desktop app from the MAC App Store.
- Open the Microsoft Remote Desktop app and click on the “+” icon to add a new connection.
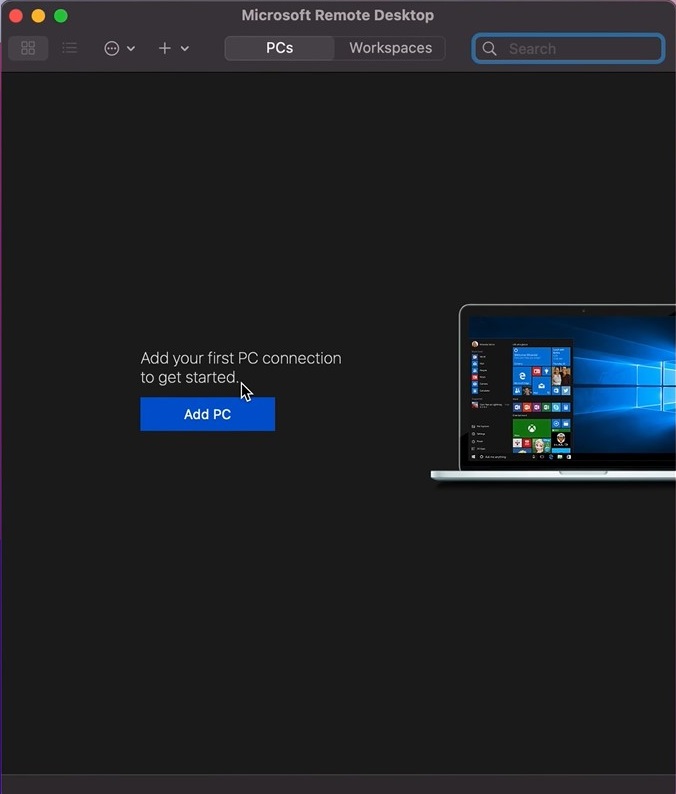
- In the “Add PC” screen, you have to enter the IP address or Hostname of the Windows computer you want to connect to.

- In the “User Account” Option Select “Add User Account” Option.
- Enter your username and password for the Windows computer.
- Click on the “Display” tab and choose your preferred resolution and color depth settings. This will determine the quality of the remote desktop display on your MAC.
- Click on the “Local Resources” tab and select the options for the keyboard, mouse, sound, and other resources that you want to use during the remote session. For example :- You can choose to use your Mac keyboard and mouse to control the Windows computer.
- Then Just Click on the “Save” button to save the connection settings on your MAC.
- Select the connection you just created and click on the “Start” button to initiate the Remote Desktop session.
- Enter your Windows login credentials when prompted, It will not prompt if you have already added a user account while adding the PC on RDP, After entering the login Credentials you should be able to access the Windows desktop on your MAC.
Note :- Before connecting with Windows through RDP, you need to make sure that Remote Desktop is enabled on the Windows computer or Windows Server, and that the Windows computer is connected to the same network as your MAC. One more important thing, You also need to ensure that the required TCP ports are open on the Windows firewall to allow remote access.
So Friend’s taking Windows Remote Desktop Connection (RDP) in MAC devices involves using a client applications like Microsoft Remote Desktop to establish a remote connection to a Windows computer, and accessing the Windows desktop on your MAC. By following the steps mentioned above, you should be able to successfully establish an RDP connection between your MAC Device and a Windows computer or a Windows Server.