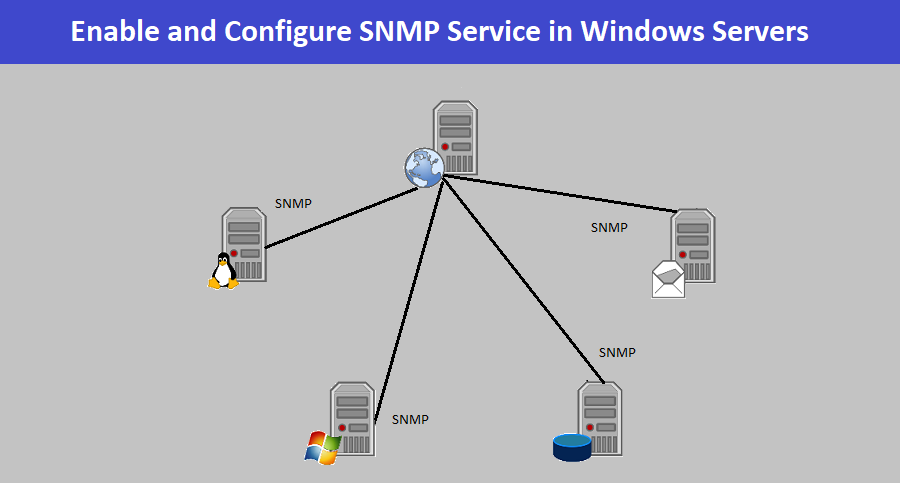
Friend’s, First of all let me explain you What is SNMP actually and What is the Full form of SNMP? The SNMP (Simple Network Management Protocol) is a very popular protocol used for managing and monitoring devices on a network, it is used to collect information from network devices, such as routers, switches, servers, printers, hubs, IP Cameras, NVRs, IP phones, etc.. on an Internet Protocol (IP) network. Basically SNMP protocol is the most common and popular protocol used in network monitoring system, usually SNMP has the ability to connect to any server and get performance counter data (such as CPU or RAM usage values).
SNMP (Simple Network Management Protocol) allows network administrators or engineers to collect information about the status of their network devices, such as their availability, performance, and error rates. It does this by sending and receiving messages between SNMP-enabled devices. Generally these messages contain information about the network device being monitored, and SNMP uses a standardized set of variables and commands to collect and report this information.
So, SNMP is widely used in network management systems to help ensure that networks run smoothly and efficiently. Generally SNMP is used to monitor large network, It is a very important tool for network Engineers to help them troubleshoot issues and keep their networks running smoothly.
Also Read This :- Best Ways to Protect you Data From Ransomware Attacks
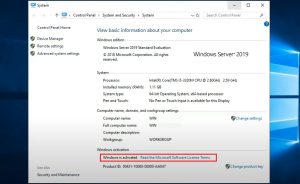
How to Enable and Configure SNMP Service in Windows Server
So Friend’s It is very easy to enable and configure SNMP Service in any Windows Server, you can follow the below mentioned steps :
- First of all Open the Server Manager , click Add roles and features and proceed installation until you reach the Features page. Once you found SNMP Feature, check the “SNMP Service” option.
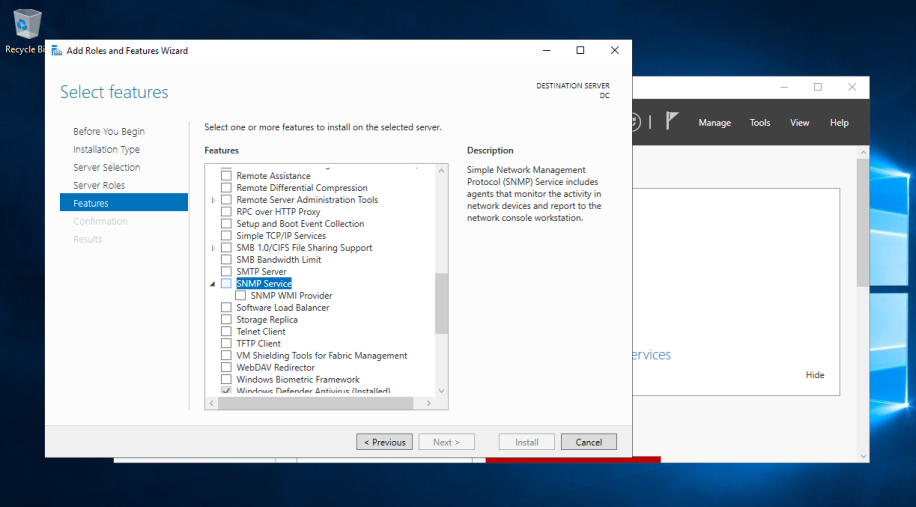
- Click “Next” and then “Install” to install the SNMP service. Once the installation is complete, you will be notified.

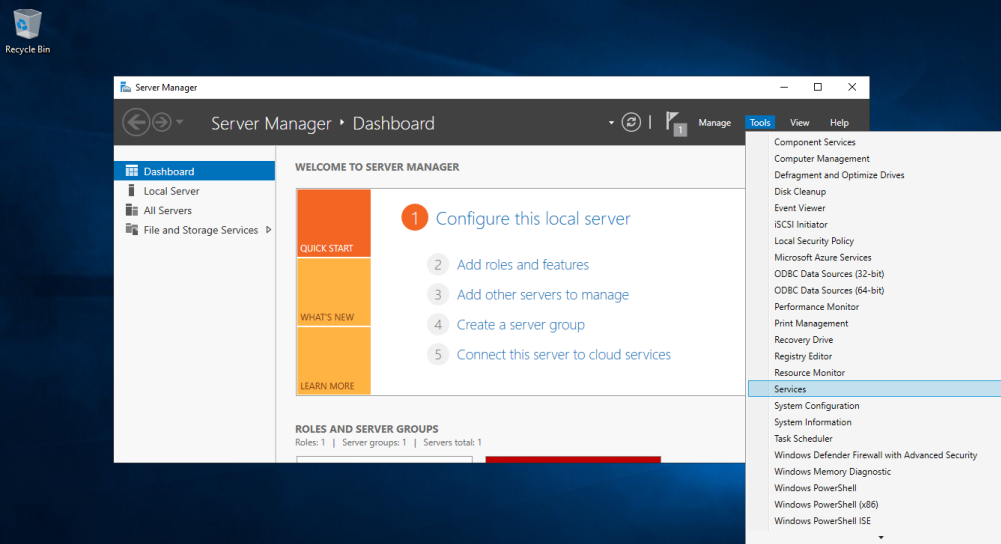
- Once the installation is complete, open the “Services” console by clicking on the Tools option in server manager. or You can directly type services.msc in run dialog box and then locate the SNMP service.
- Right-click on the SNMP service and select “Properties“
- In the SNMP Service Properties window, go to the “Security” tab.
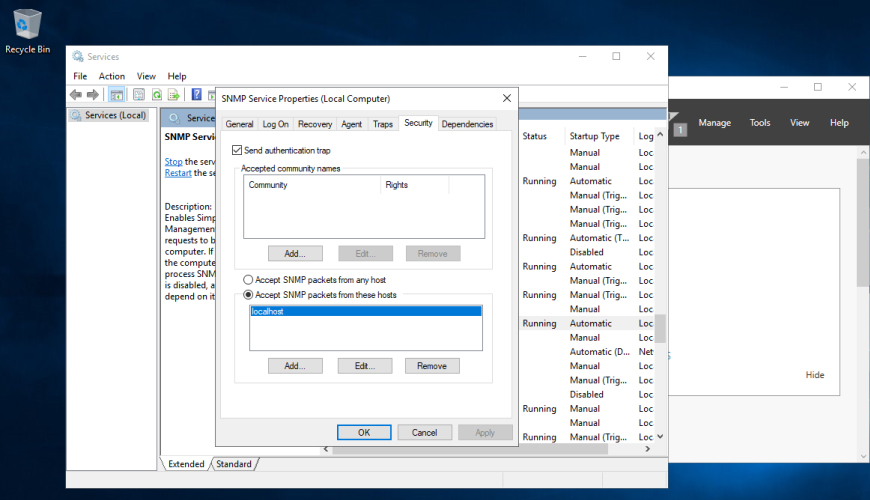
- Under “Accepted community names,” click “Add” and enter a community name for SNMP access. (Note :- Don’t assign Read Write rights, just assign Read Only rights)
- Under “Accepted SNMP packets from these hosts,” select “Any host” or “These hosts” and enter the IP addresses of the Monitoring Server.
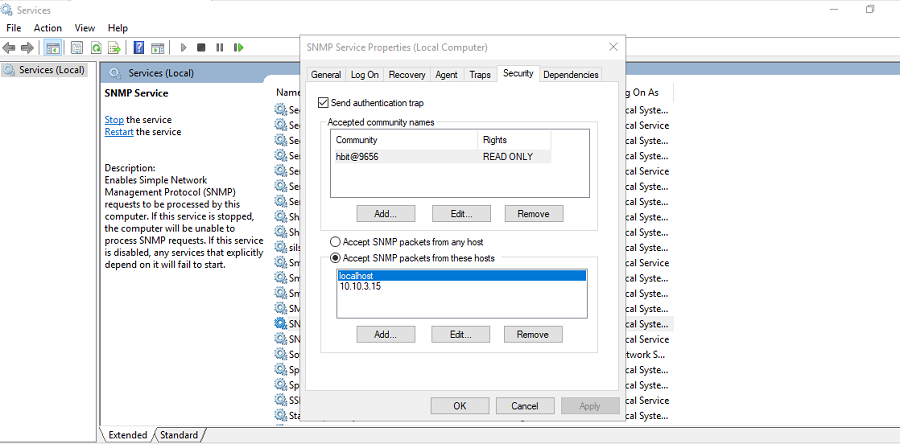
- Click “OK” to save the changes and close the SNMP Service Properties window.
- Restart the SNMP service.
- Then Enable “SNMP Port 161″ in Windows Firewall in both inbound or outbound rules, by default it is enabled.
- After completing these steps, SNMP should be enabled and configured on the Windows Server. You can then use an SNMP management tool to access and monitor the server’s SNMP information. Some popular SNMP management tools include Libre NMS, SolarWinds, and PRTG Network Monitor.
You Can also Watch Below attached video to configure SNMP in your Windows Server.