Friend’s, if you’re a web or software developer and looking to host your website on IIS 10 with SSL certificate (https) to secure it but aren’t sure how to install an SSL certificate in IIS on Windows Server, so you’re in the right place! In this guide, I’ll show you step by step how to secure your website by installing an SSL certificate in IIS. Having an SSL certificate is a must these days. It not only encrypts data for better security but also helps build trust with your visitors. Let’s dive in and get your website protected!
Step 1: Obtain the SSL Certificate
Ensure you have the valid SSL certificate file in .pfx format (PKCS#12 format). If the certificate is in .crt format, combine it with the private key to create a .pfx file.
Step 2 :- Convert a .crt File to .pfx Format
Friend’s just Follow these simple steps to convert your .crt file to .pfx format:
Prepare Your Private Key
- Open your private key file in a text editor like Notepad.
- Save the file with a
.pemextension (e.g.,privatekey.pem). - While saving the file, ensure the file type is set to All Files to apply the
.pemextension correctly.
Find a Trusted Converter Tool
- Search for “.crt to .pfx converter” on Google.
- Choose a reliable online tool for the conversion process. Click here to directly go to ssl converter.
Upload the Files
- Upload your
.crtcertificate file to the converter. - Upload the
.pemfile you just created from the private key.
Start the Conversion
- Click on the Convert button.
- Wait for the tool to generate the
.pfxfile.
Download the .pfx File
- Once the conversion is complete, download the
.pfxfile. - Your
.pfxfile is now ready to be used for SSL configuration.
Step 3 :- Install SSL Certificate in IIS Server
1. Open IIS Manager
- First of all, just go to the server where you want to install the SSL certificate in IIS. Press
Windows + R, typeinetmgr, and press Enter to open the IIS Manager.
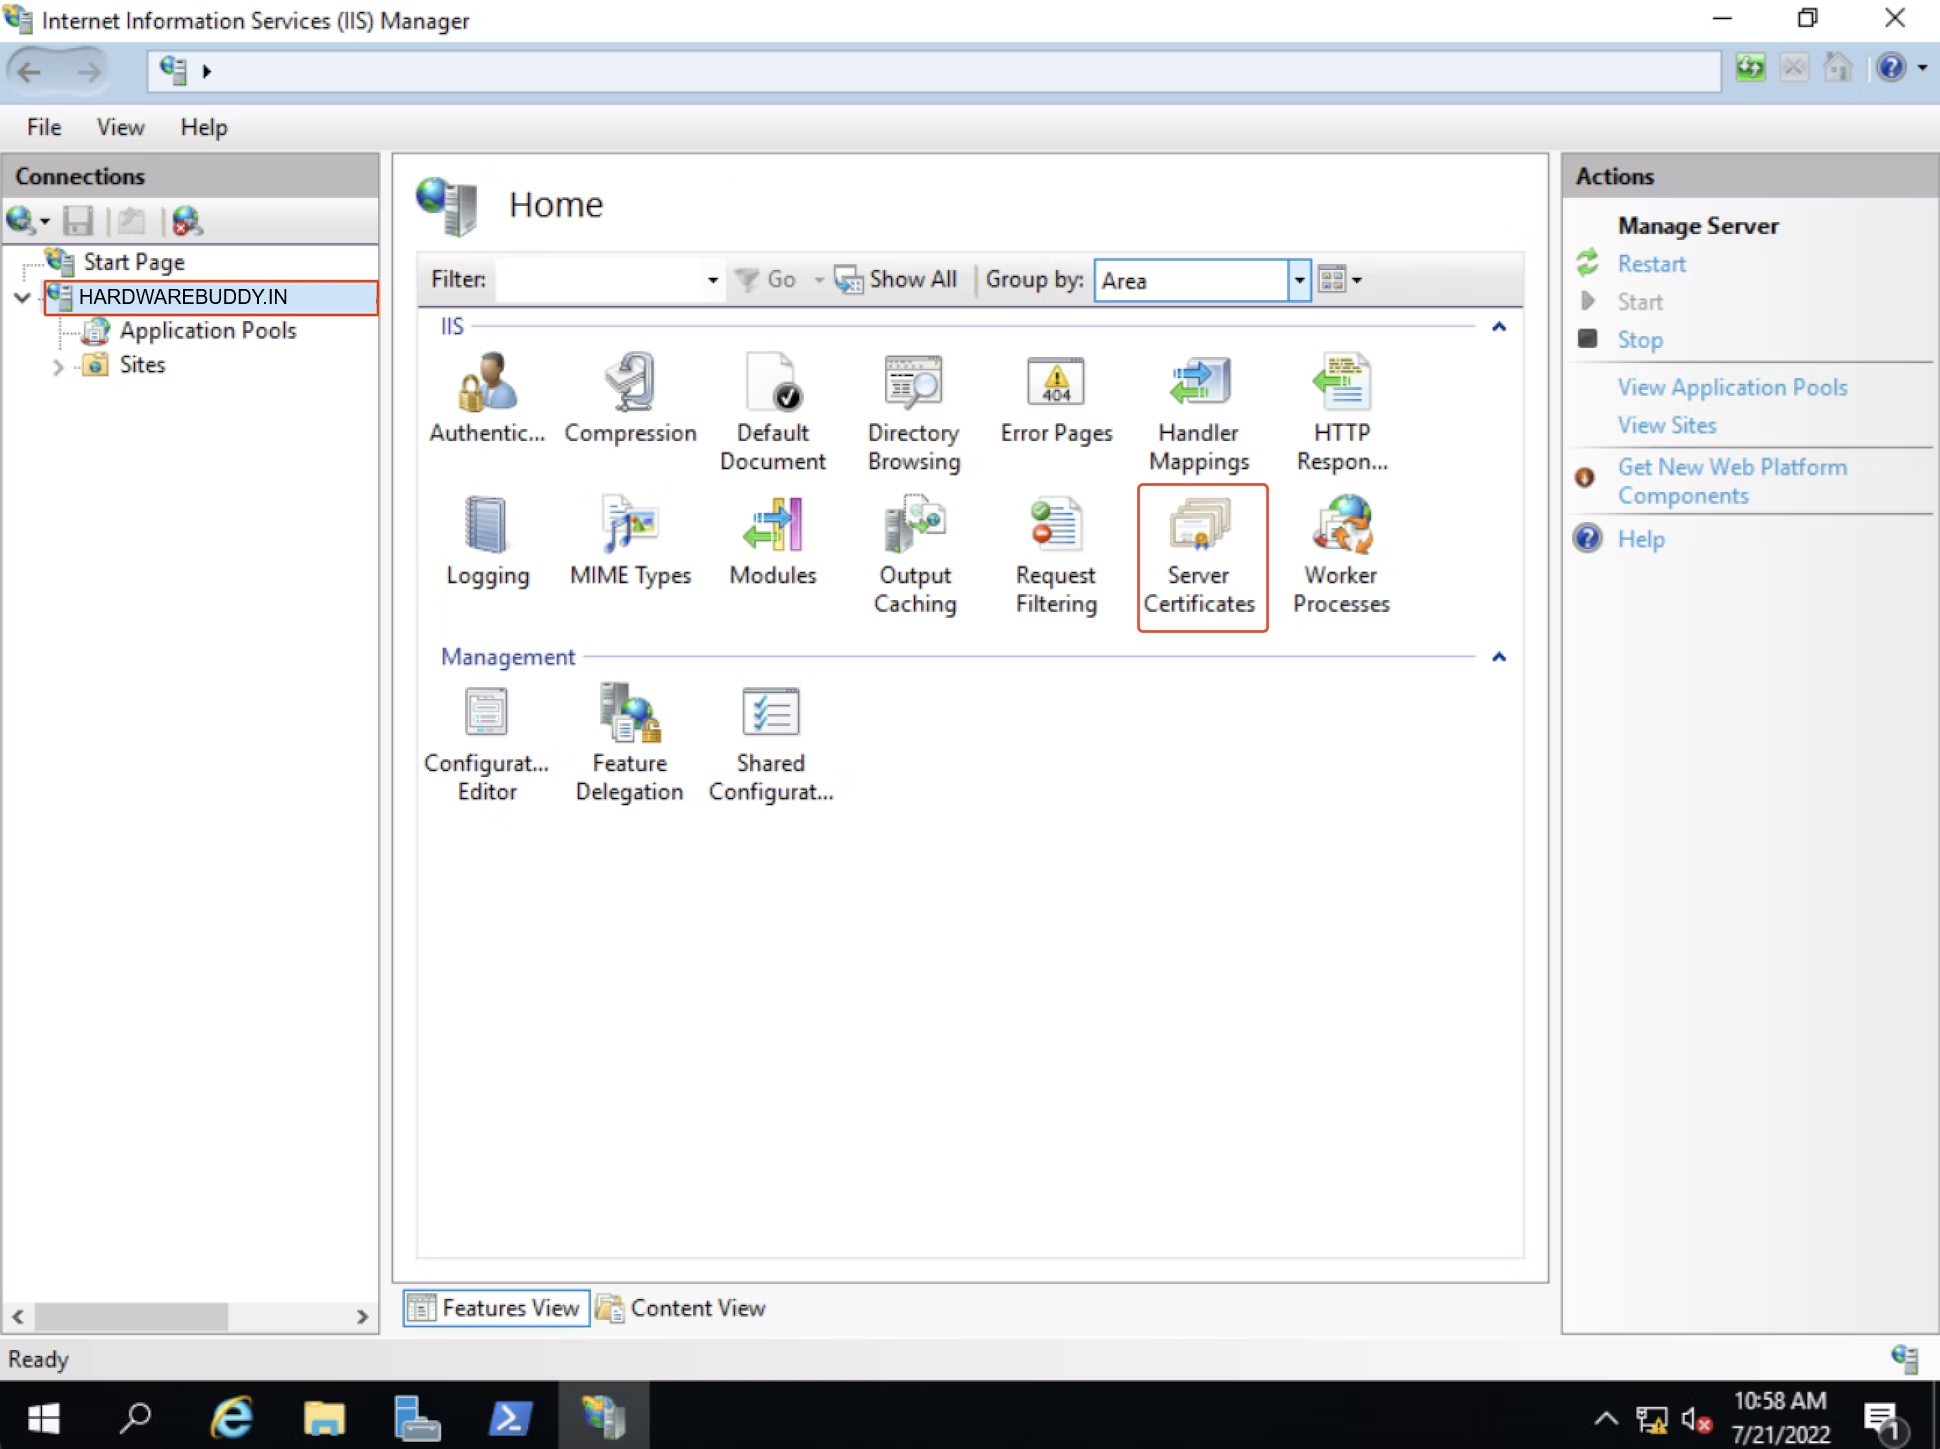
2. Go to the Server Certificates Section
- Once IIS Manager is open, you’ll see the Connections pane on the left side. Click on your server name to select it.
- Then, in the middle panel, look for the Server Certificates option under the IIS section and double-click it.
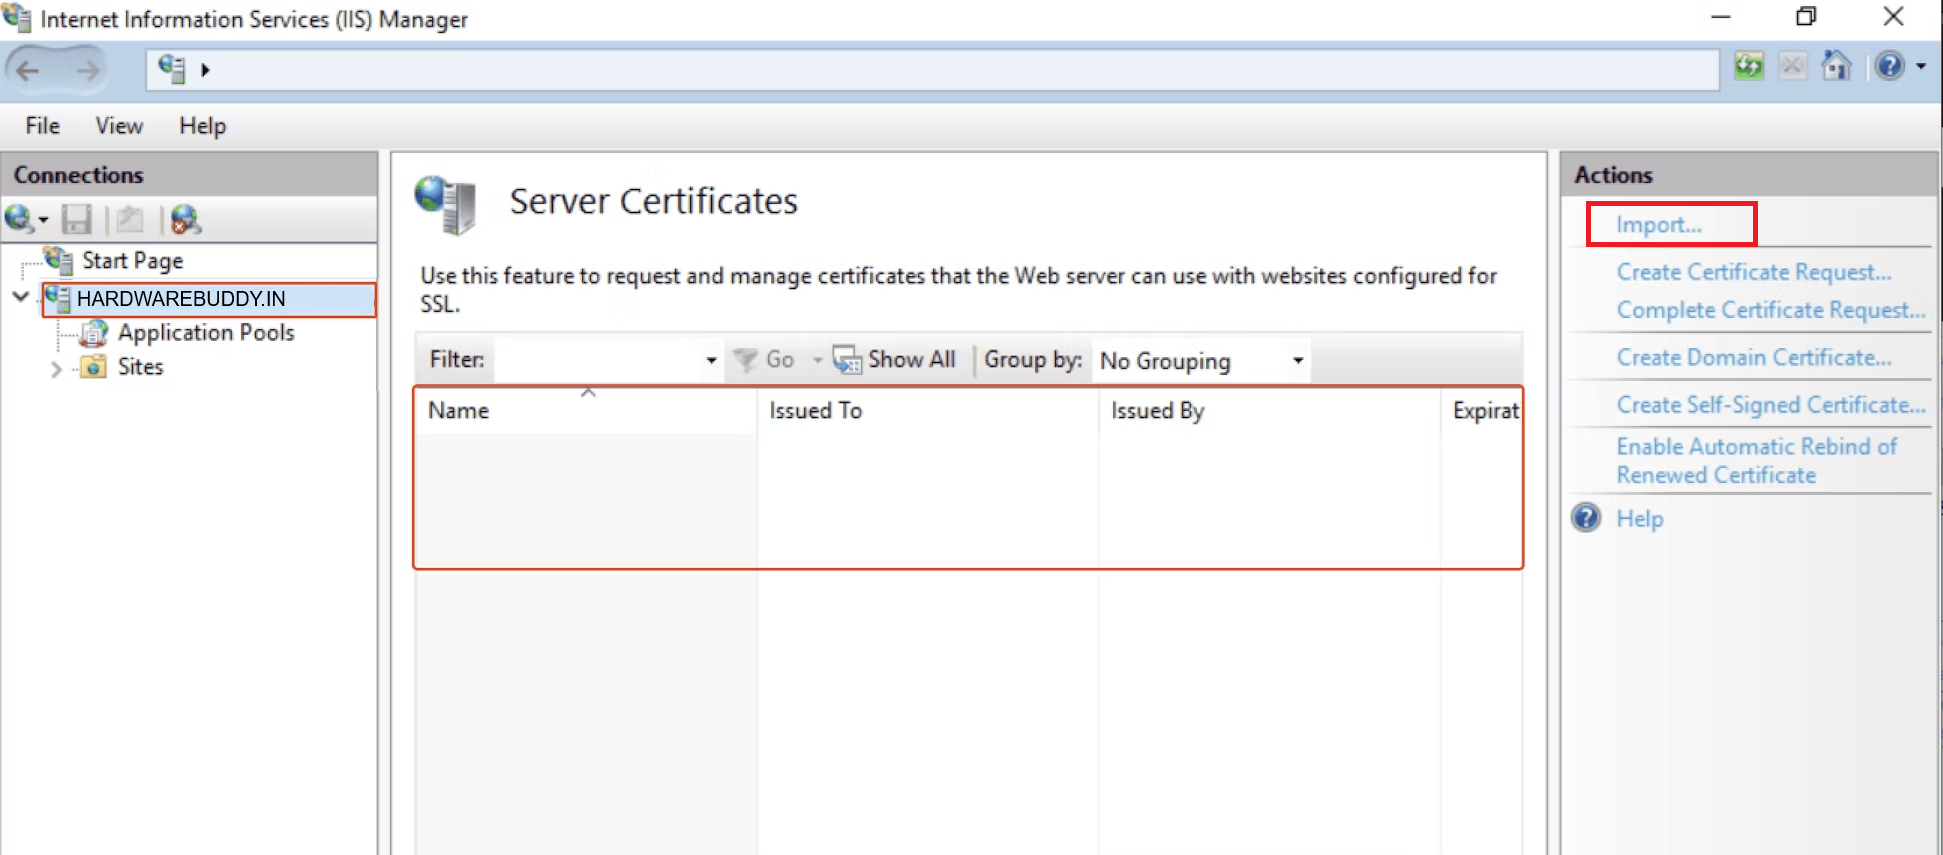
3. Import the Certificate
- On the right side of the window, under Actions, you’ll see an option to Import. Click on that.
- A file dialog will pop up, asking you to browse for the
.pfxfile that you have created earlier from crt to pfx converter. Just select it.
- You’ll then be prompted to enter the password. Just Leave it blank if you have not entered any password while creating pfx.
- Once everything is set, click OK to import the certificate.
4. Bind the Certificate to Your Website
- Now the SSL certificate is imported successfully, just go back to the Connections pane on the left, and expand Sites.
- Find and right-click the website where you want to use the SSL certificate, then choose Edit Bindings.
- In the Site Bindings window, either click Add to create a new HTTPS binding or select an existing one and click Edit.

- From the SSL certificate drop-down list, select the certificate you just imported.
- Hit OK to finalize the binding, and your site will now be secured with the SSL certificate.